Arma 3 Exile Infistar
Jump to navigation
Jump to search
Guide for installing Arma 3 Exile Infistar
Getting Started
- First thing you will want to do is get the latest update from [infistar.de]
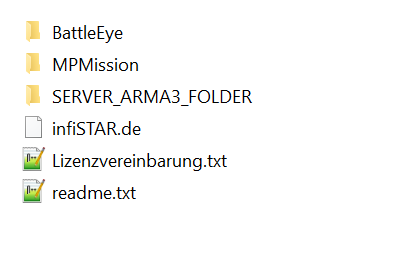
- After you have it downloaded unpack the zip file and get the files ready
- Go into the SERVER_ARMA3_FOLDER\@infiSTAR_Exile\addons folder within your new unzipped folder
- Head into the a3_infiSTAR_Exile and edit the EXILE_AHAT_CONFIG.hpp file with Notepad++
- Within the hpp file look on line 83. This will be the area to add your steam UID. Which can be found Here
- Next head up a bit and find these two lines:
- serverCommandPassword = "changeme";
- passwordAdmin = "changeme";
- Change the "Changeme" text to your rcon password from the panel.
- Next area to locate is on line 398. Set the following options to false:
- enableSystem = "false";
- USE_RESTART_TIME_IN_M = "false";
- USE_SHUTDOWN = "false";
- Once done save the file and you are ready to pack the infistar folder into PBO form using pbo manager or cpbo
- Right click on the a3_infiStar_Exile folder and pack it into a pbo.
== Uploading the Infistar files to your server ==
- Head onto your control panel and log into your FTP client with a program such as Filezilla
- Once logged in simply head to the /@ExileServer/Addons folder.
- Drop your new a3_infiStar_Exile pbo into that area next to the other pbo folders.
- Head out of that area and into the MPMissions folder on the FTP client
- Download the pbo for your current map and unpack it with pbo manager or cpbo
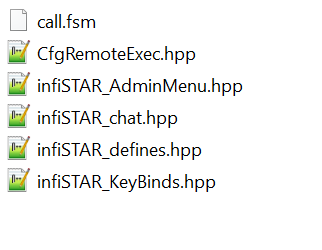
- Grab the 6 files from within the infistar folder you downloaded. They will be located within the MPMissions folder
- Copy them into the mission pbo you downloaded and unpacked.
- Open the description.ext with notepad++ and add the following lines
include "CfgRemoteExec.hpp"
include "infiSTAR_defines.hpp"
include "infiSTAR_AdminMenu.hpp"
include "infiSTAR_chat.hpp"
include "infiSTAR_KeyBinds.hpp"
- Save the file and repack your mission pbo and upload it back to the MPMissions folder on your FTP client.
Updating Battleye
- Head into your FTP client and go into /Admin/BattlEye
- Drag the updated battleye filters from your infistar folder into this area and click overwrite when asked
- Head to https:/ /webinterface.infistar.de/licenses and add your IP to your whitelist area under Infistar for Exile
- Start your server up and enjoy


