How to Backup Or Upload Save Data
Upload Save Data
In order to upload a local save, you must .zip up the .db and .fwl file in a single zip.
You can not skip any steps.
Please follow these steps carefully:
1. Navigate to the %userprofile%\AppData\LocalLow\IronGate\Valheim\worlds folder on your computer.
2. Click on both the .db and .fwl file (no other files) and right-click, Send To, Compressed Zip folder.
3. In the newly generated .zip file, rename the .db and .fwl files to match your Server ID, while keeping the extensions.
(Your Server Id can be found in your control panel.)
4. Upload the finished .zip file by clicking the Choose File button for local save in your control panel.
5. Click the green button at the bottom of your control panel to apply your changes and restart your server.
Backup Save Data
To obtain a manual backup of your Valheim server follow the below steps:
1. Stop the game server.
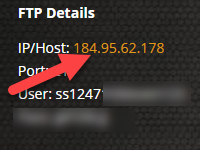
2. Click on the IP/Host link under the FTP Details section of your control panel.

This will either open up an FTP view in your current browser or in your preferred FTP client. If you are having issues, please see --> FTP Access.
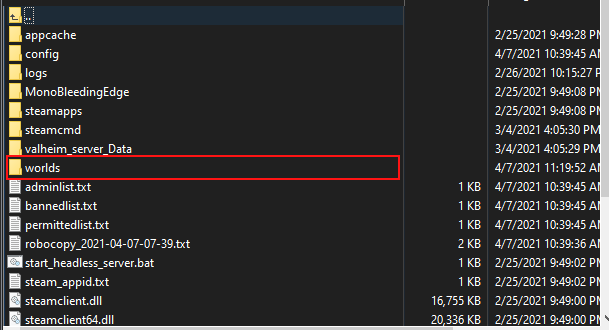
3. The files you are looking for are the .db and .fwl file and can be found within the world folder. The file name will always be GSID.db and GSID.fwl (GSID = Game Server ID number)
The below image is what it will look like in WinSCP, in this example the files are 124710.db and 124710.fwl


4. Once you have located the files simply drag them to your desktop if using an FTP client, if its open in your web browser just click on the links.
