How to Create an Aloft Dedicated Server Guide
Jump to navigation
Jump to search
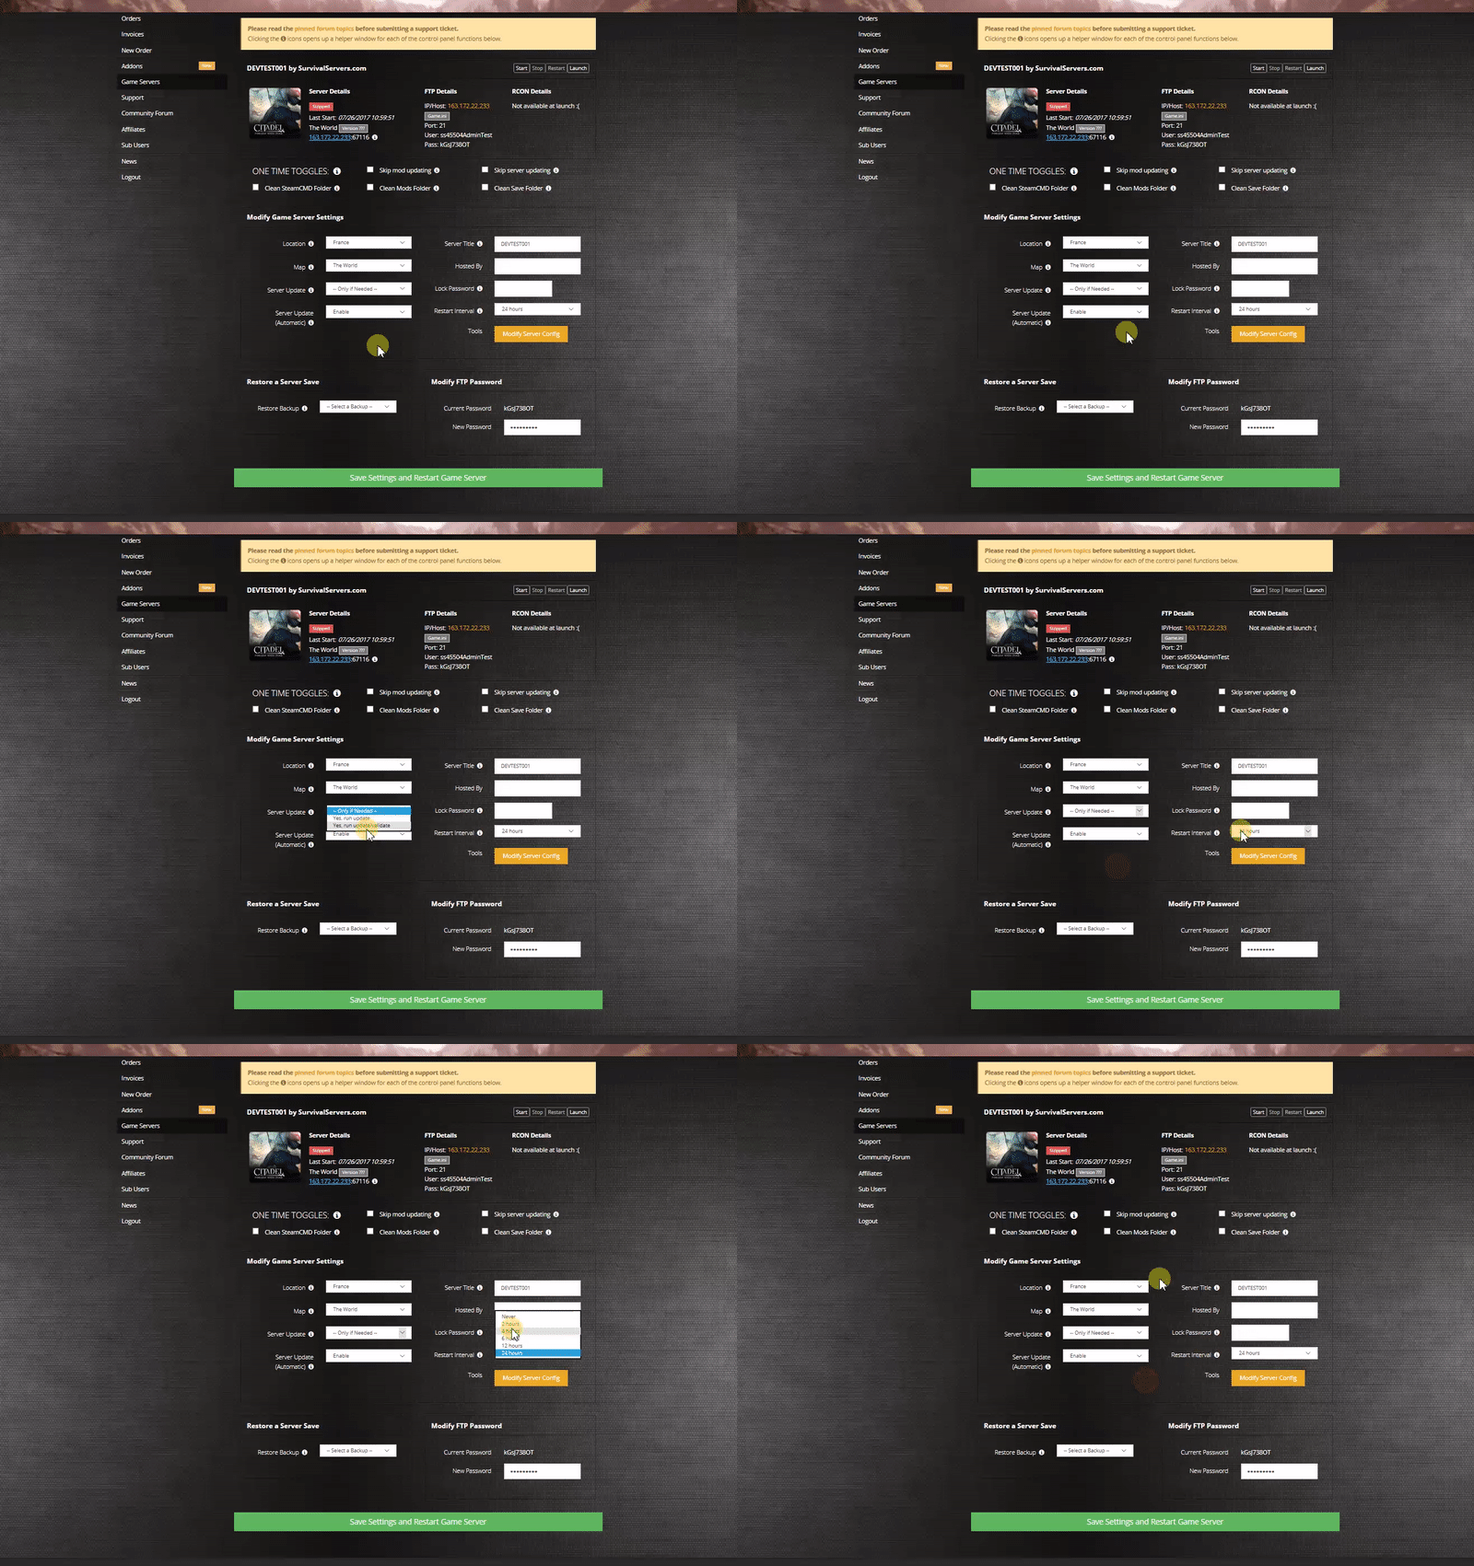
Option #1: Renting an Aloft Server (see example control panel below!)
Option #2: Creating an Aloft Server From Your Home Computer or Dedicated Server
Server Requirements
- Windows 10/11, Server 2016/2019/2022 & 64-Bit
- Quad Core processor (requires up to 2 full cores)
- Up to 12GB of memory
- 12GB disk space (install folder)
- PowerShell (installed by default on most Windows systems)
Step 1: Fetching Game Server Files
To get the dedicated server game files, locate them in your Steam directory:
- Open your Steam library.
- Right-click on Aloft, select Properties, then go to the Local Files tab and click Browse.
- Locate the following PowerShell scripts in the game folder:
AloftServerNoGuiCreate.ps1– Used for creating a new world.AloftServerNoGuiLoad.ps1– Used for loading an existing world.
Step 2: Creating a New World
- Open the
AloftServerNoGuiCreate.ps1script in a text editor. - Locate the line starting with
$processInfo.Argumentsand customize the parameters:MAPNAME: Desired name of your map (avoid spaces).500: Number of islands (adjust as needed).0or1: Game mode (0for Survival,1for Creative).- Example:
-batchmode -nographics -server create#MyWorld#300#0# log#ERROR#
- Save the changes and close the editor.
- Right-click the script and select Run with PowerShell to execute it. This will create your world.
Step 3: Setting Up the Dedicated Server
- Open the
AloftServerNoGuiLoad.ps1script in a text editor. - Edit the
$processInfo.Argumentsline to include the following:MAPNAME: Name of your map.servername#YourServerName#: Your server's name.isvisible#true#: Set totrueto make the server public, orfalseto keep it private.playercount#8#: Maximum number of players.
- Save the changes and close the editor.
- Run the script using PowerShell to start your server.
Step 4: Port Forwarding
- Add an incoming rule to your Windows Firewall to allow TCP/UDP ports for the game server:
- Default game port: 15636.
- Default Steam query port: 15637.
- Add a forwarding rule to your router. Use PortForward.com for detailed instructions.
Your Aloft server should now be running and ready for players!
