How to Create a Core Keeper Server Guide
Jump to navigation
Jump to search
Creating a Core Keeper game server can be done with either a dedicated server or a home computer or hosted and rented from a server provider.
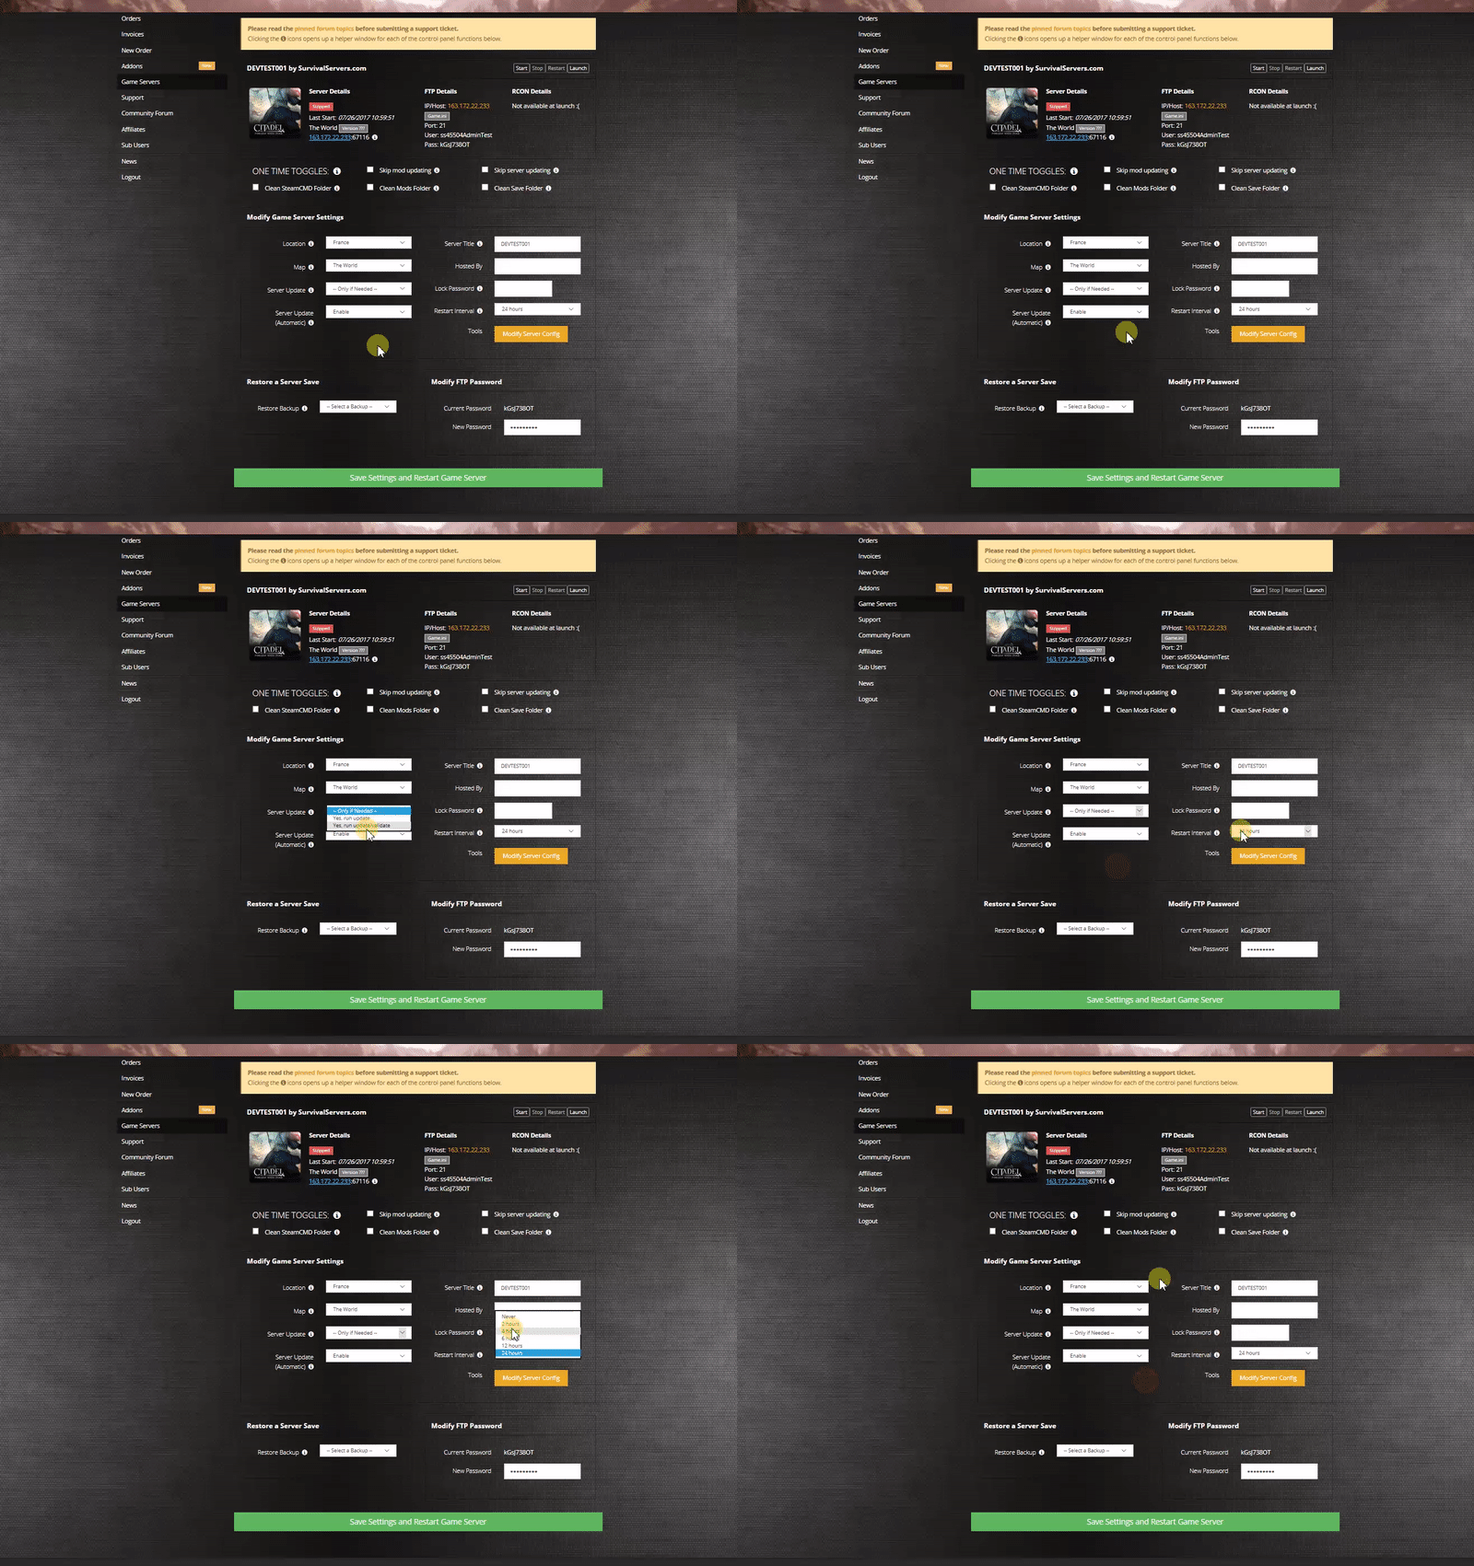
Option #1: Renting a Core Keeper server (see example control panel below!)
Option #2: Creating a Core Keeper Server From Your Home Computer or Dedicated Server
Server Requirements
Windows 7, 8, 8.1, Server 2016, Server 2019 & 64-Bit
Quad Core processor (requires up to 2 full cores)
Up to 16GB memory (currently uses around 12GB memory minimum and up to 15GB of memory for a full server)
5GB disk space (install folder)
Step 1: Fetching Game Server files
The best method to get dedicated server game files is via the dedicated server depot on Steam via SteamCMD.
- Create a folder where you wish to store your Core Keeper game server hosting files
- Inside of the folder, place the newly downloading SteamCMD.exe file
- Create a batch file named SteamCMD.bat
- Place the following code in this batch file:
- @echo off
- start "" steamcmd.exe +login USER PASS +force_install_dir "C:\Some\Path\Where\You\Want\Game\Server\Files\To\Go" +app_update 1963720 validate +quit
- Right-click SteamCMD.bat and Run as Administrator
- Your game server files should be completely downloaded by now
Step 2: Setting up a Core Keeper Dedicated Server
- Create a batch file named CoreKeeper.bat in your newly created Core Keeper server folder from step 1
- Place the following code in this batch file:
- start CoreKeeperServer.exe -batchmode -ip XXX.XXX.XXX -port 31777 -maxplayers 100 -world 0 -worldname MyWorld -datapath "Saved" -worldmode 0 -seed exit
