How to Create a Valheim Server Guide: Difference between revisions
| Line 39: | Line 39: | ||
Now comes the fun part, setting up your Valheim game server to your liking. | Now comes the fun part, setting up your Valheim game server to your liking. | ||
You can modify some settings using the launch line but additional settings can be configured by installing and using [[How to Install Valheim Plus|Valheim+]]. | You can modify some settings using the launch line but additional settings can be configured by installing and using [[How to Install Valheim Plus|Valheim+]]. | ||
== Step 3: Port Forwarding == | == Step 3: Port Forwarding == | ||
Revision as of 10:25, 22 February 2023
Creating a Valheim game server is an easy process that can be done from either a dedicated server or your home computer. Alternatively, you can choose a Valheim server host that will fit your needs.
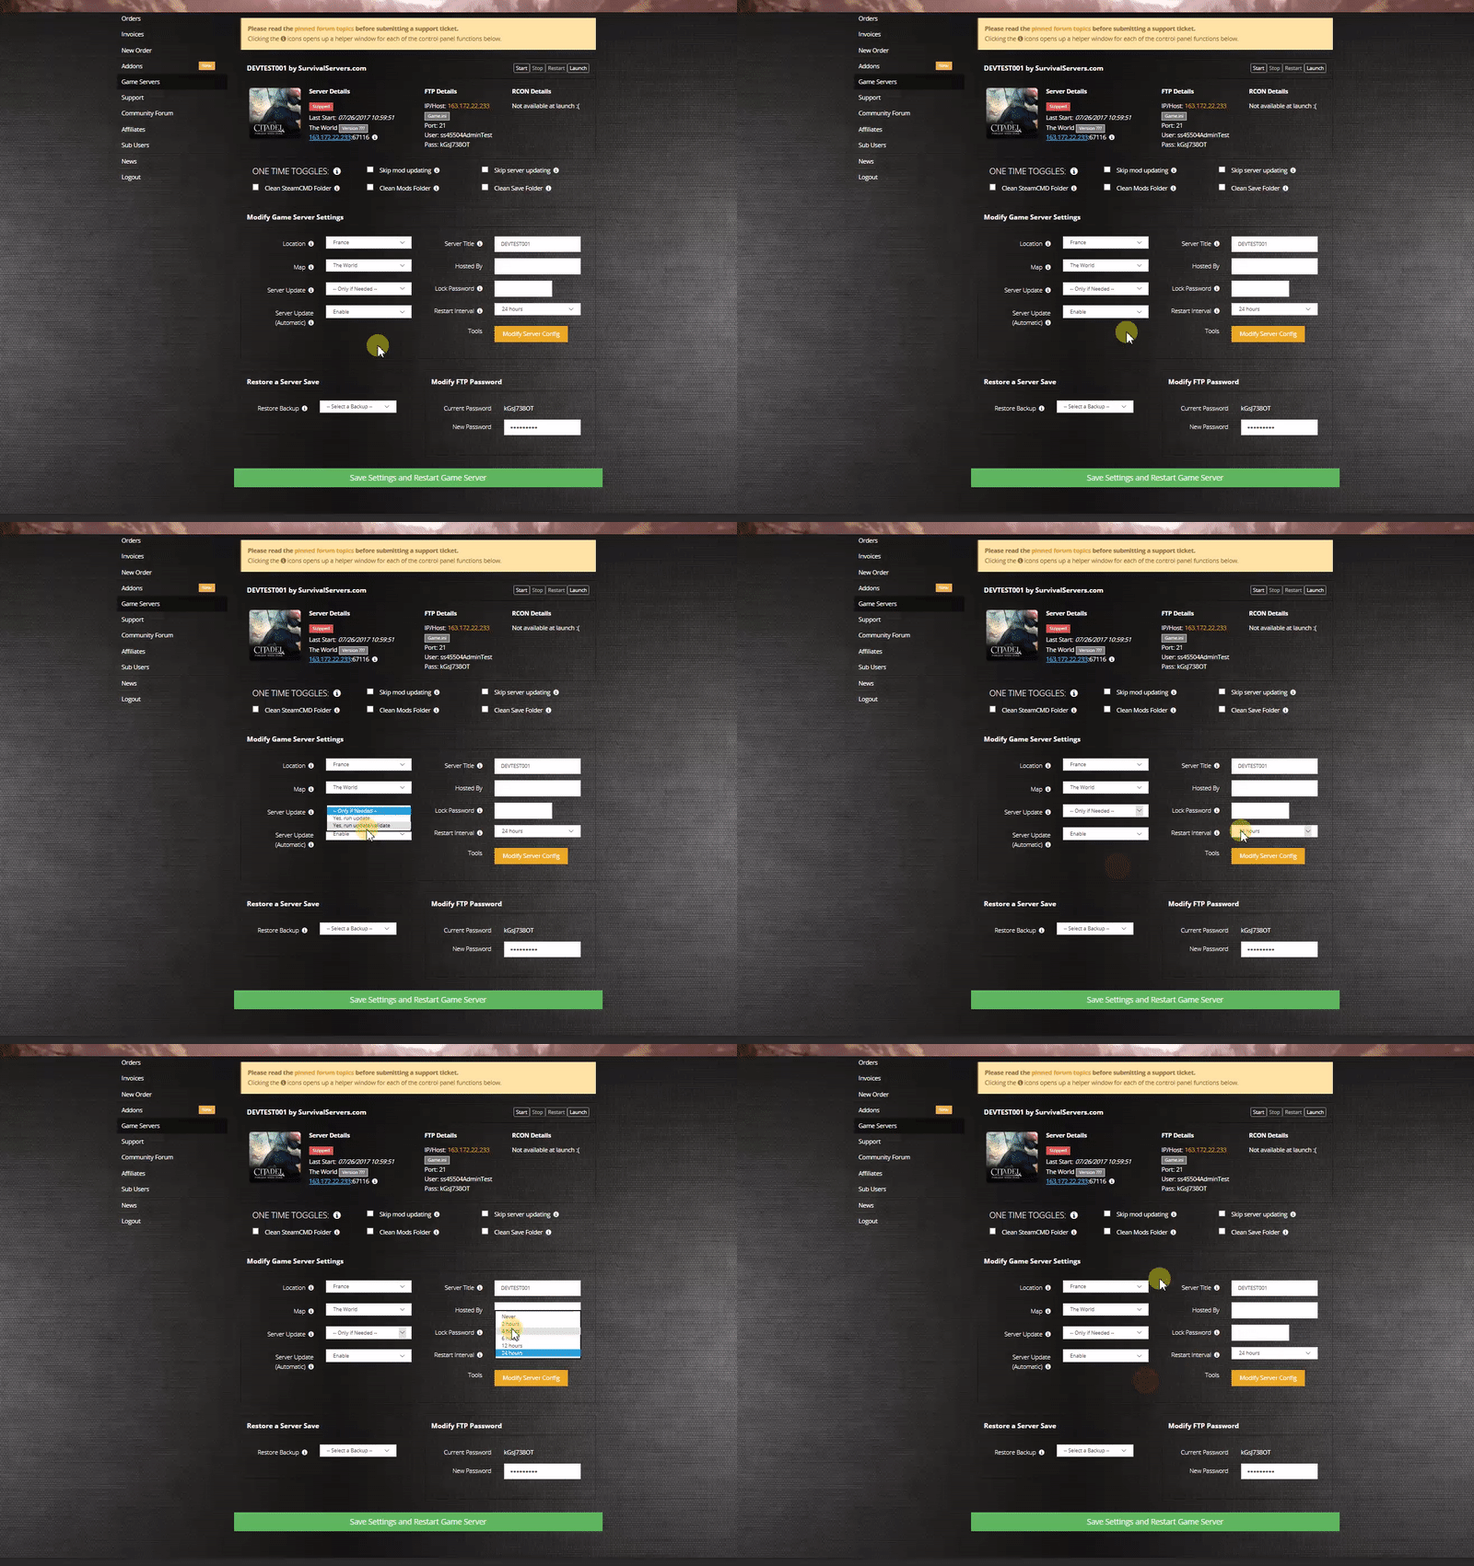
Option #1: Renting a Valheim server (see example control panel below!)
Option #2: Creating a Valheim Server From Your Home Computer or Dedicated Server
Server Requirements
Windows 7, 8, 8.1, Server 2016, Server 2019 & 64-Bit
Quad Core processor (requires up to 2 full cores)
Up to 16GB memory (currently uses around 2GB memory)
2GB disk space (install folder)
Step 1: Fetching Game Server files
The best method to get dedicated server game files is via the dedicated server depot on Steam via SteamCMD.
- Create a folder where you wish to store your Valheim game server hosting files
- Inside of the folder, place the newly downloading SteamCMD.exe file
- Create a batch file named SteamCMD.bat
- Place the following code in this batch file:
- @echo off
- start "" steamcmd.exe +login USER PASS +force_install_dir "C:\Some\Path\Where\You\Want\Game\Server\Files\To\Go" +app_update 896660 validate +quit
- Right-click SteamCMD.bat and Run as Administrator
- Your game server files should be completely downloaded by now
Step 2: Setting up a Valheim Dedicated Server
- Create a batch file named ValheimServer.bat in your newly created Valheim server folder from step 1
- Place the following code in this batch file:
- start valheimServer.exe -nographics -batchmode -name "My server" -port 2456 -world "Dedicated" -password "secret" -public 1
Step 3: Configuring your Valheim Server
Now comes the fun part, setting up your Valheim game server to your liking.
You can modify some settings using the launch line but additional settings can be configured by installing and using Valheim+.
Step 3: Port Forwarding
Add an incoming rule to your Windows Firewall to allow TCP/UDP port (game port) 2456, (Steam query port) 2457 (or whichever ports you decide to use)
You may additionally need to add a forwarding rule to your network router. You can use PortForward.com to read how to do this.
Location of World Save Data
To locate your save folder, navigate to this folder:
%userprofile%/AppData/LocalLow/IronGate/Valheim/Worlds
There will be two files:
- Dedicated.db (your map data)
- Dedicated.fwl (your identifier which includes your worldname and seed)
